The old computer I
was using for Windows XP died and I needed to replace the broken
components with something modern. This page will be a photo
journal of the upgrade experience. We are going from a single
core AMD 32-bit Athlon 2400 machine with 1.5GB of RAM to an AMD 64-bit
dual core
Athlon 4200+ machine with 4GB of RAM. This upgrade will cost less
than $325 and this computer will be used as an Ubuntu Linux desktop
machine. I like building my own machines so I can control the
quality of the components and workmanship and also if I build them, I
can fix them.
This page might take a while to load as the pictures are somewhat high resolution - however, once this page loads you can click on any photograph to see the full-sized version because once you can see the thumbnail, the photograph is already on your local hard drive.
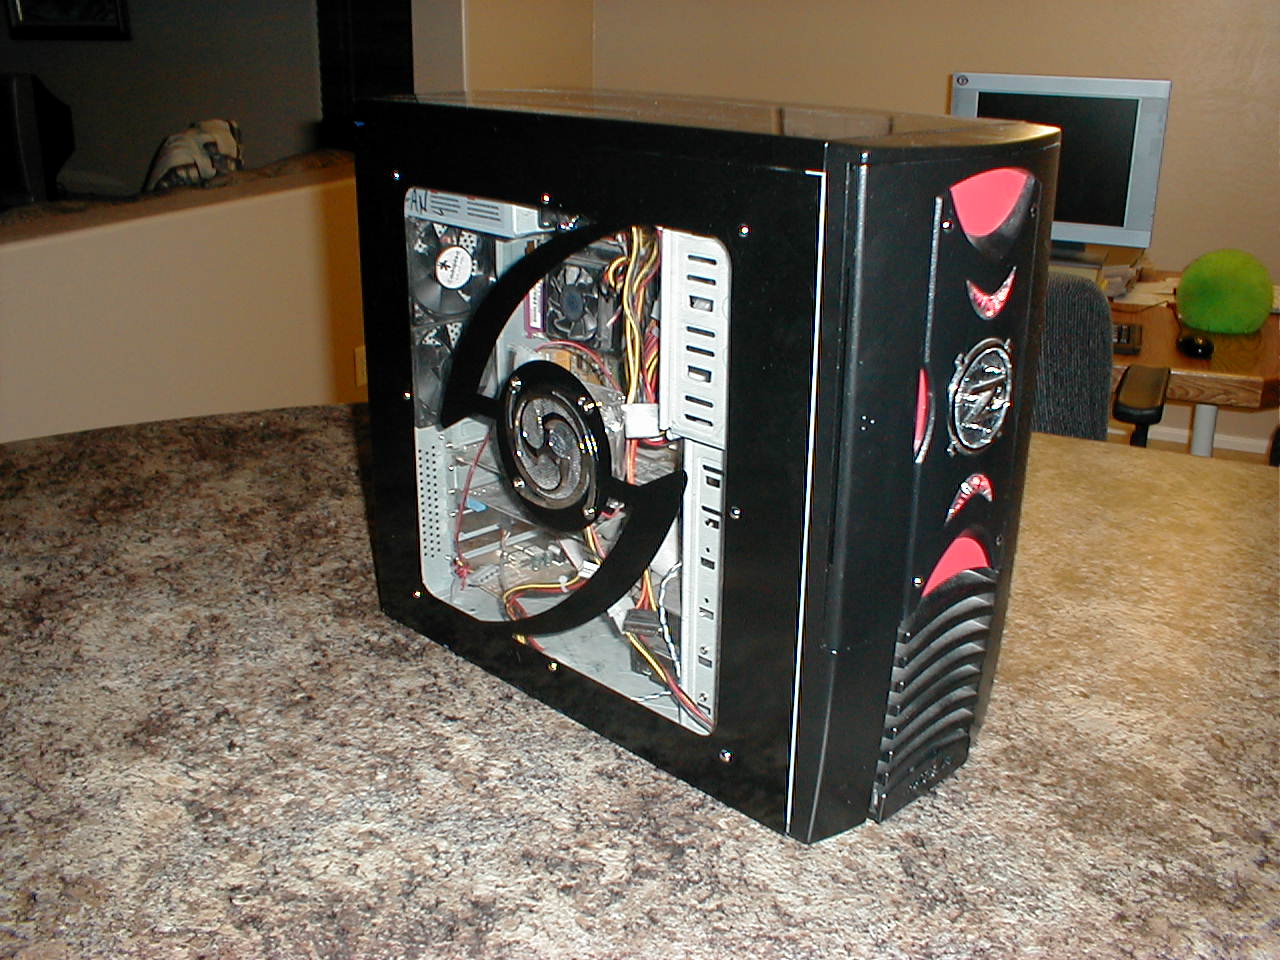
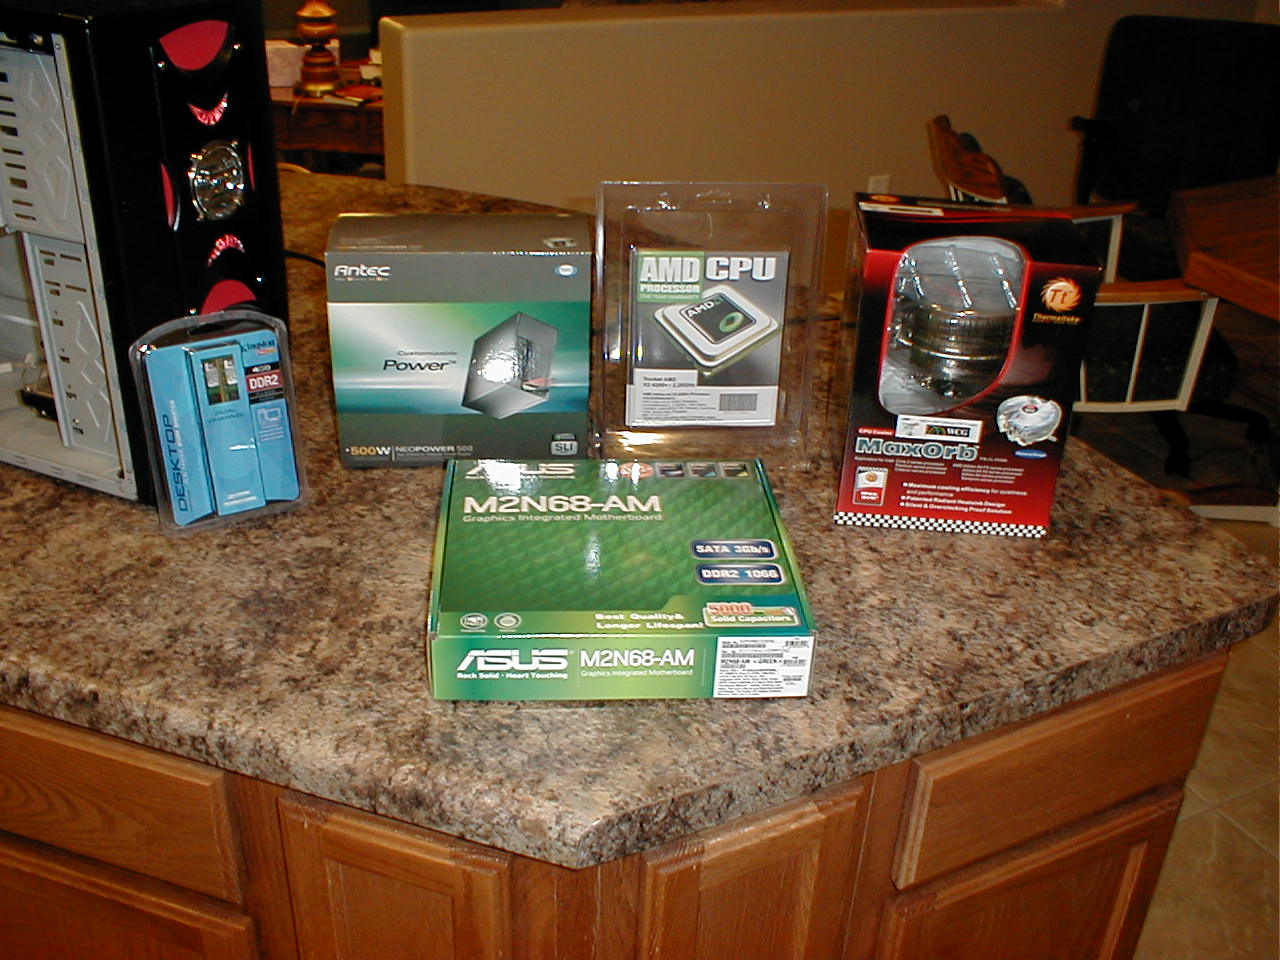
Here is a picture of the original computer, the computer with the cover removed, and a group photograph of the new components. We are installing a new motherboard, new CPU, new RAM, new power supply, new chassis cooling fans, new CPU cooler, and installing a (750GB) hard drive pulled out of another computer. The new chassis cooling fans were not present for the group photo.
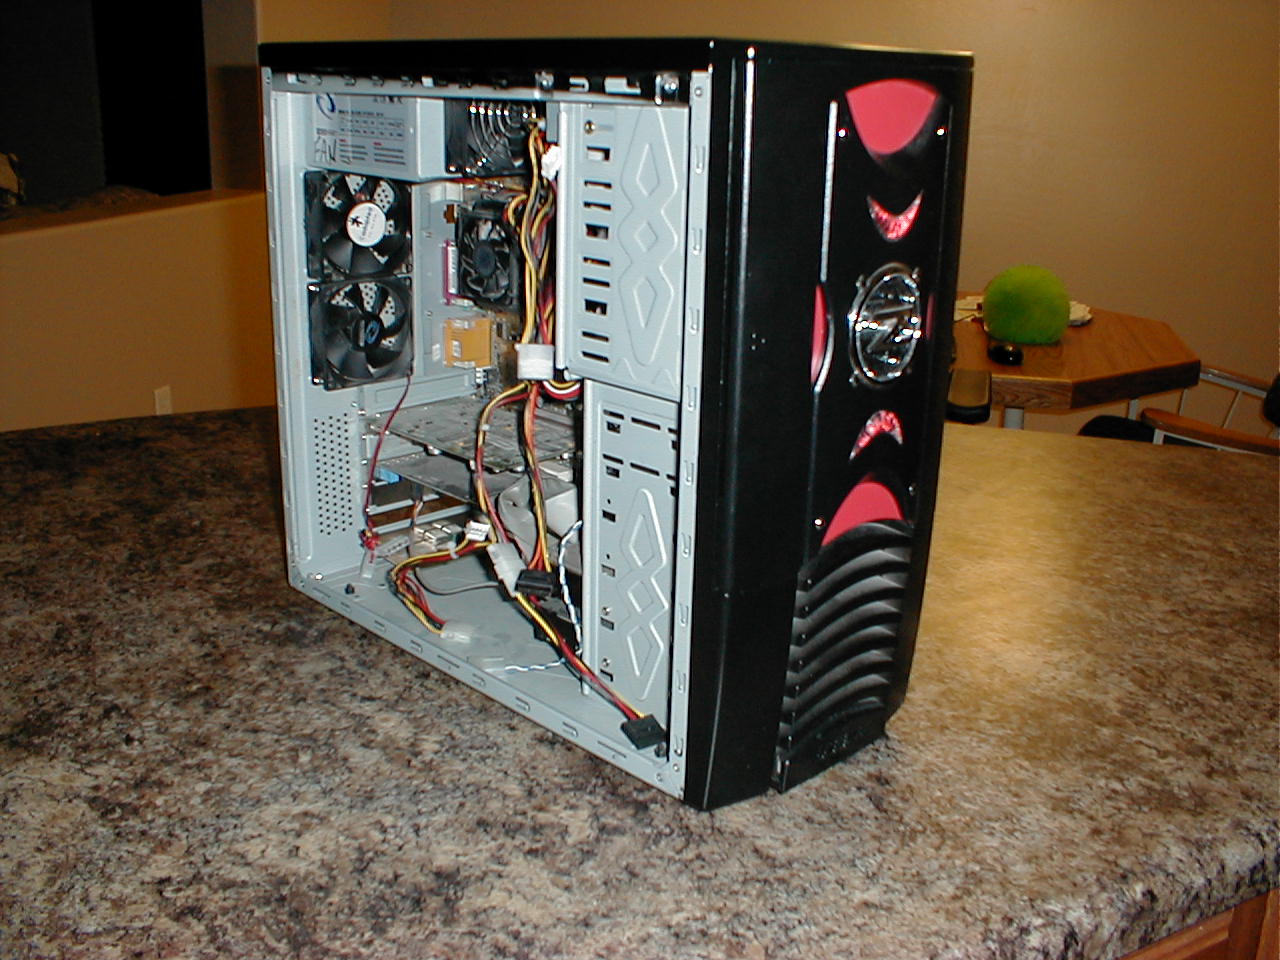
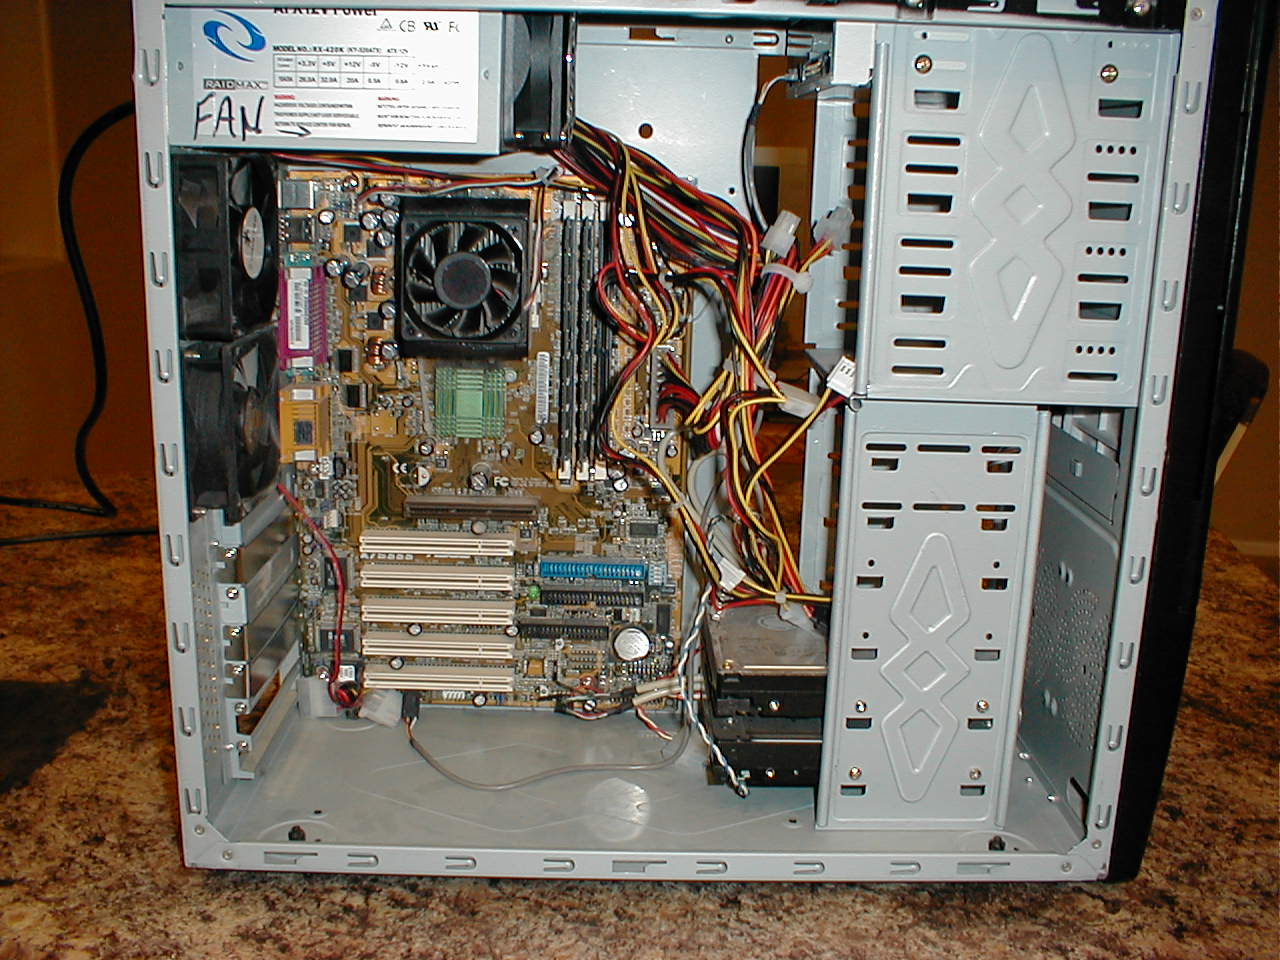
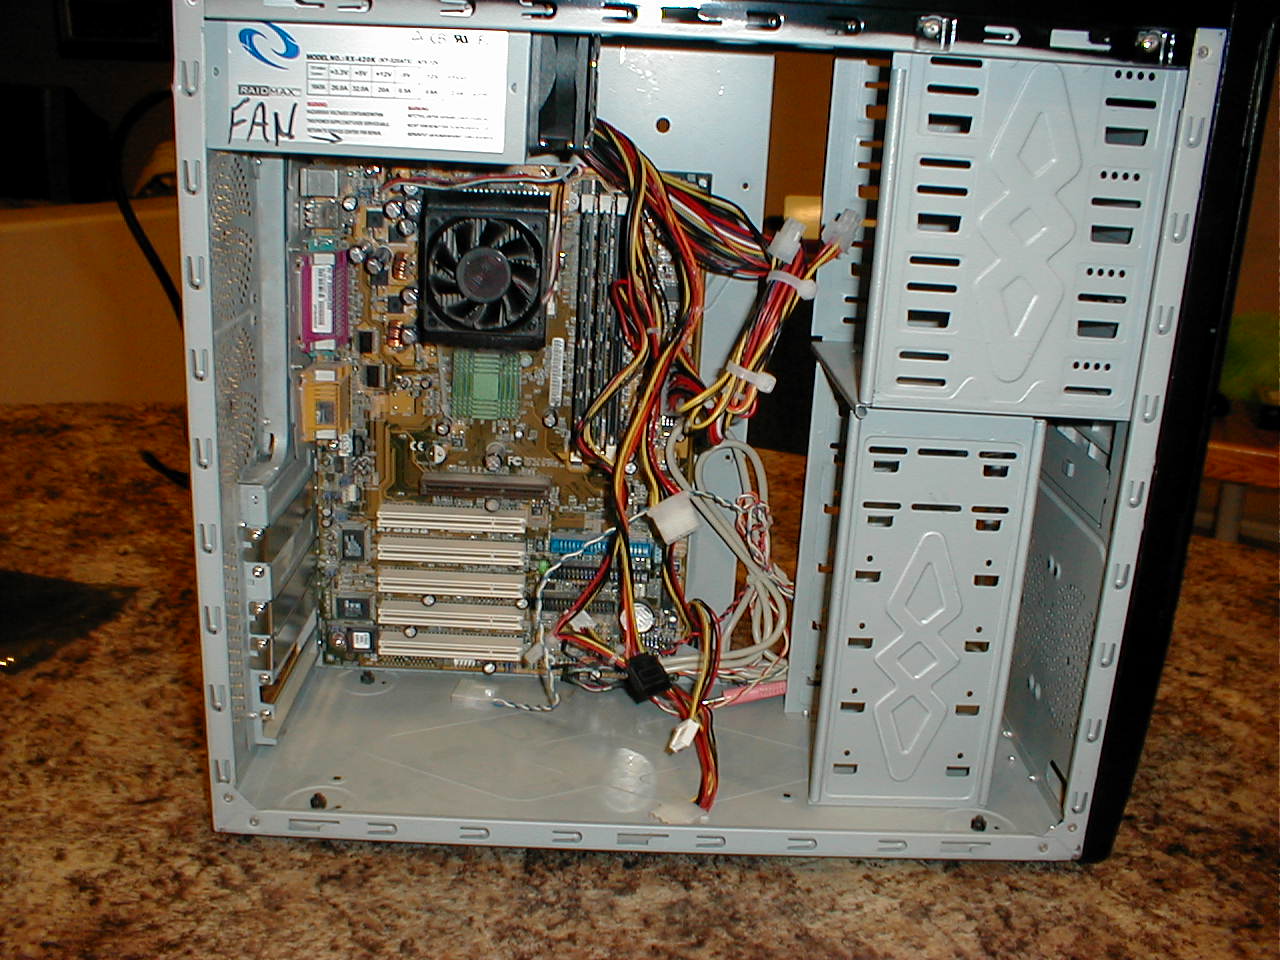
In the first photograph we see the inside of the old broken computer. This computer has old expansion cards we will not need with the new computer because everything will be included on the motherboard. The power supply is shot, the motherboard is fried, the cooling fans are dead, and the hard drives will not work with newer motherboards. In the next two photos we pull out the expansion cards, the cooling fans, and all the drives.
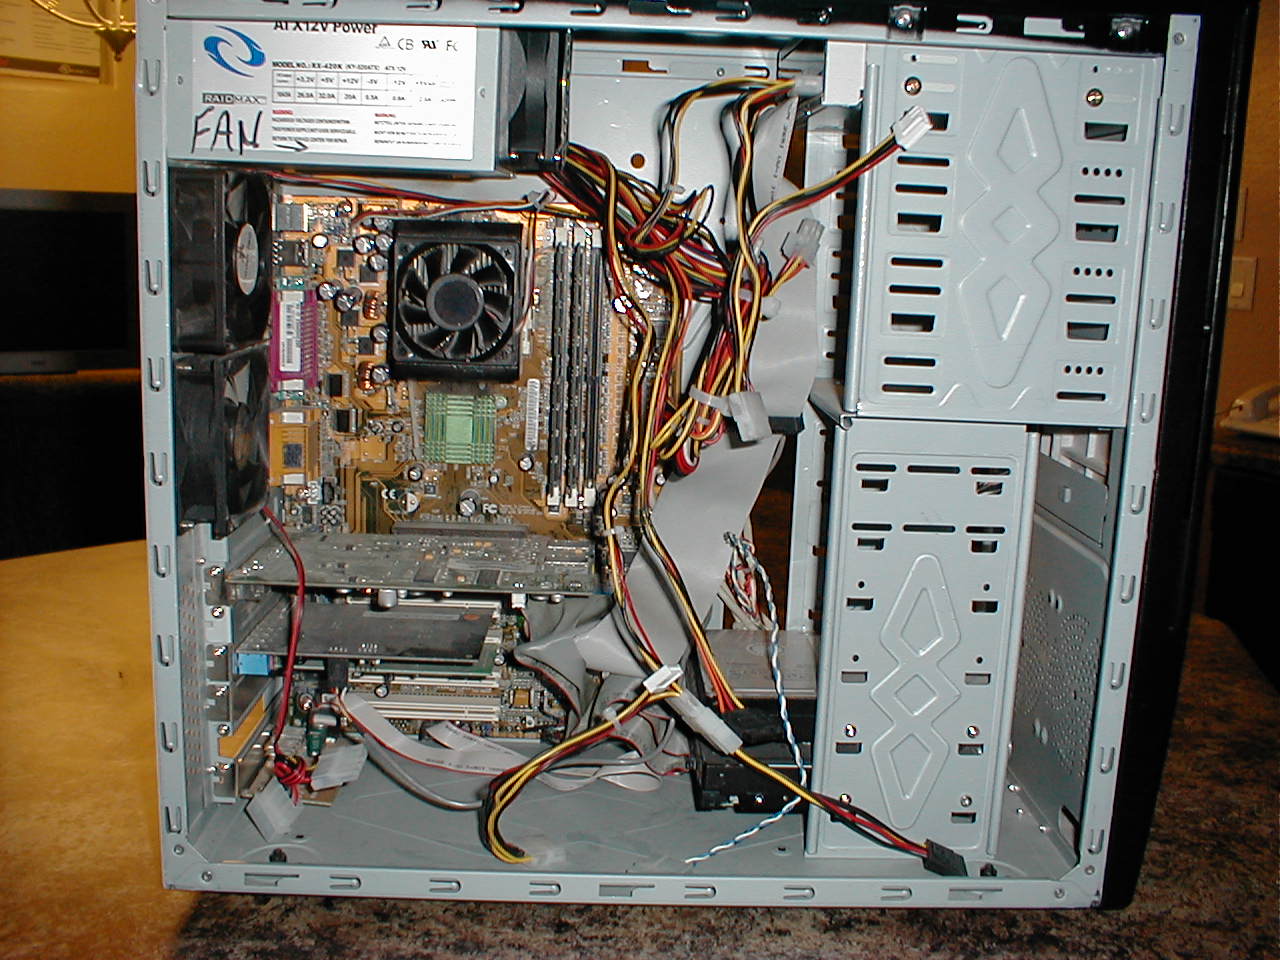
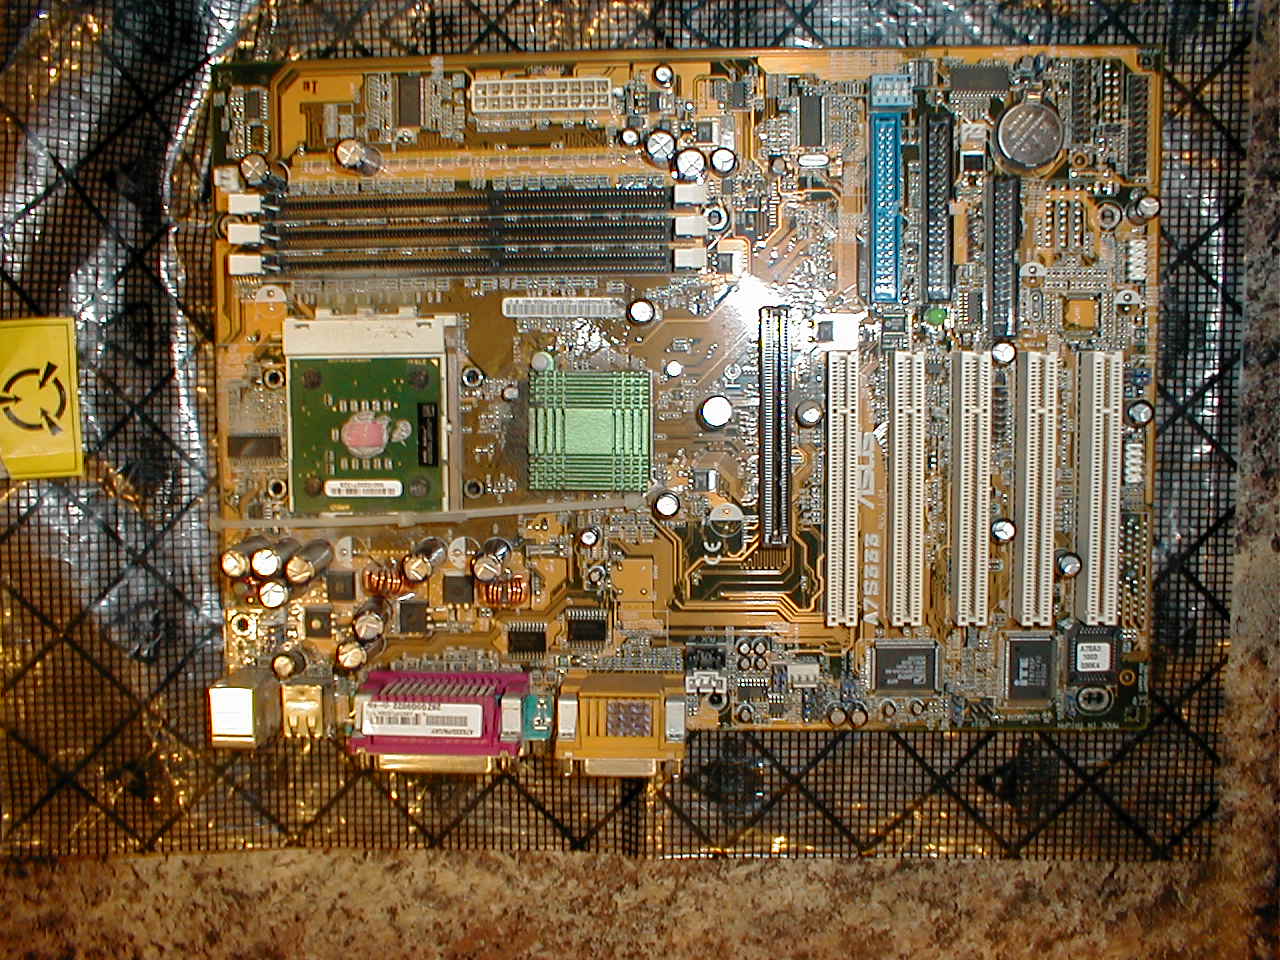
Here is a close up view of the old fried motherboard. I have removed the CPU cooler so you can see the CPU sitting on the white CPU socket in the middle left side of the board.
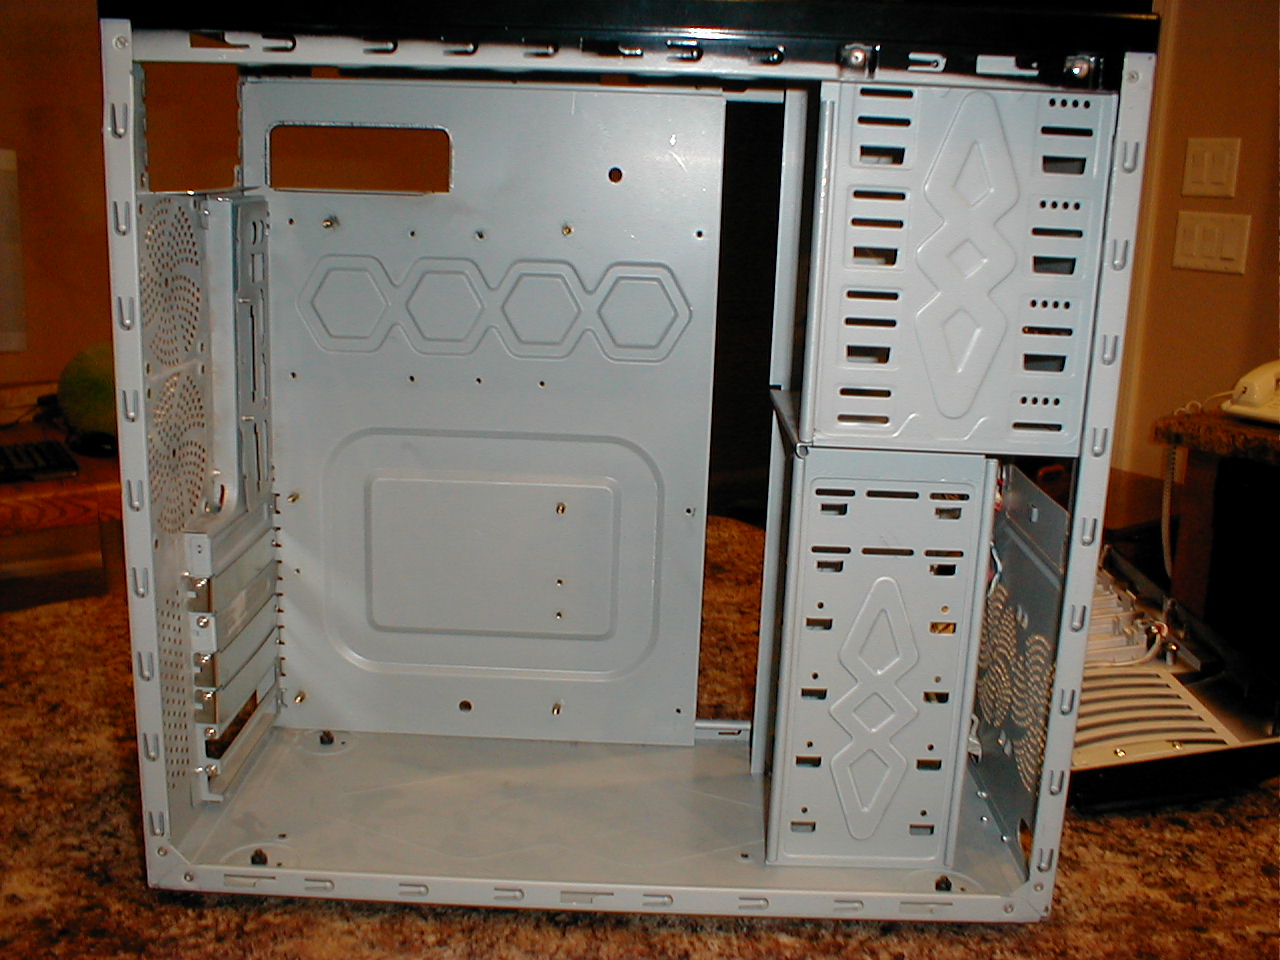
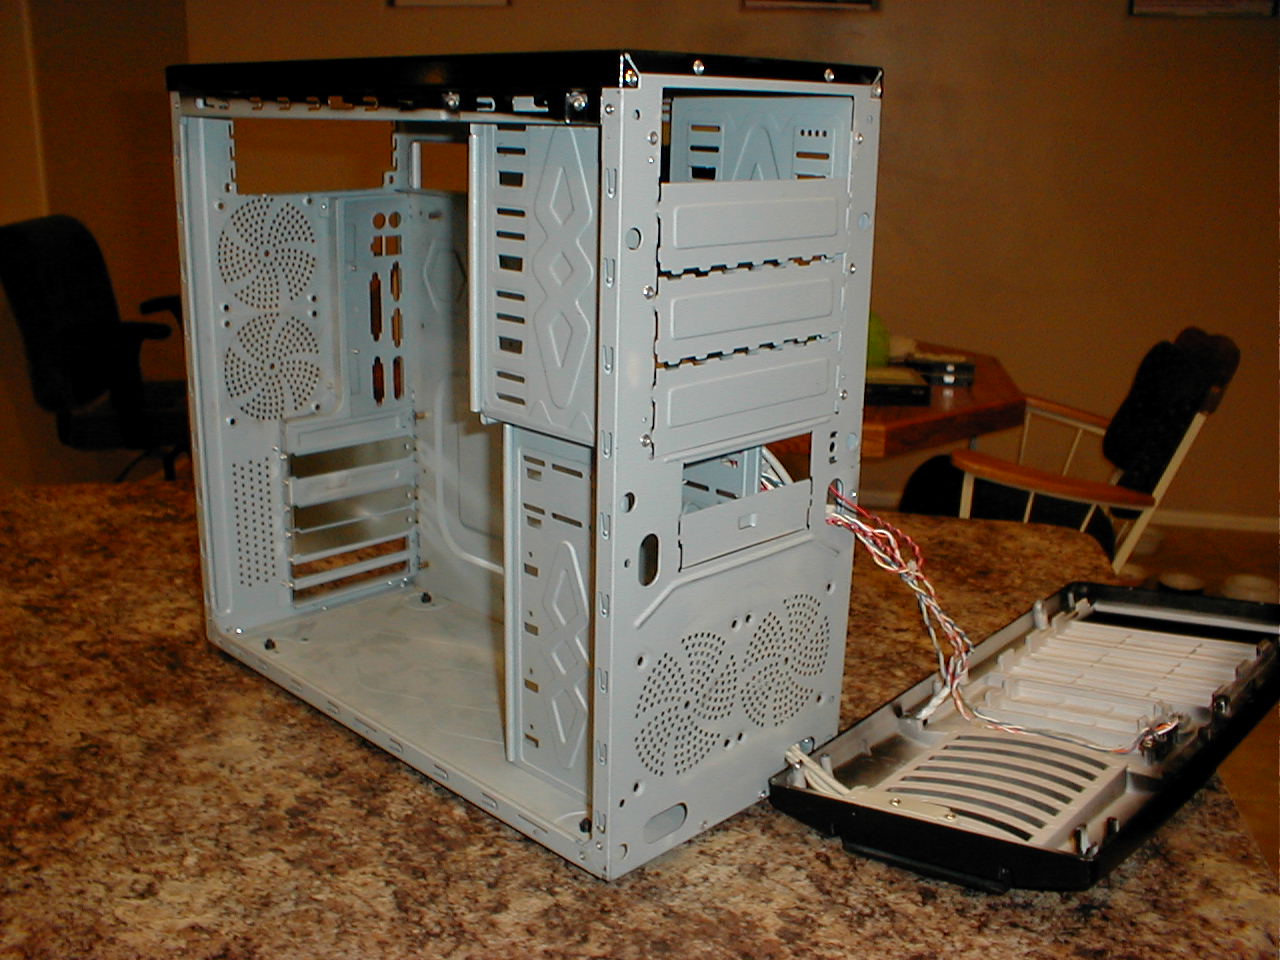
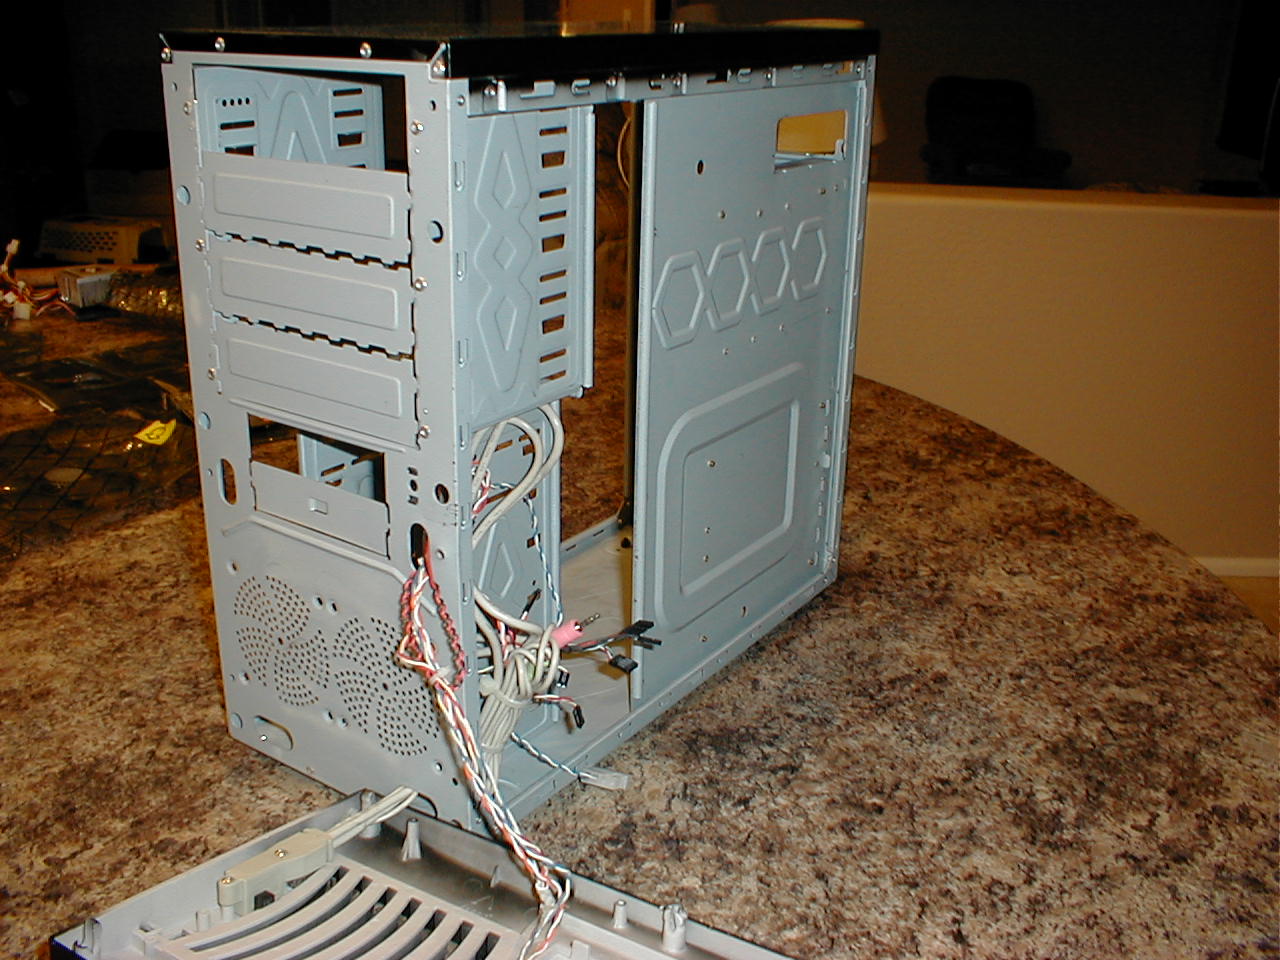
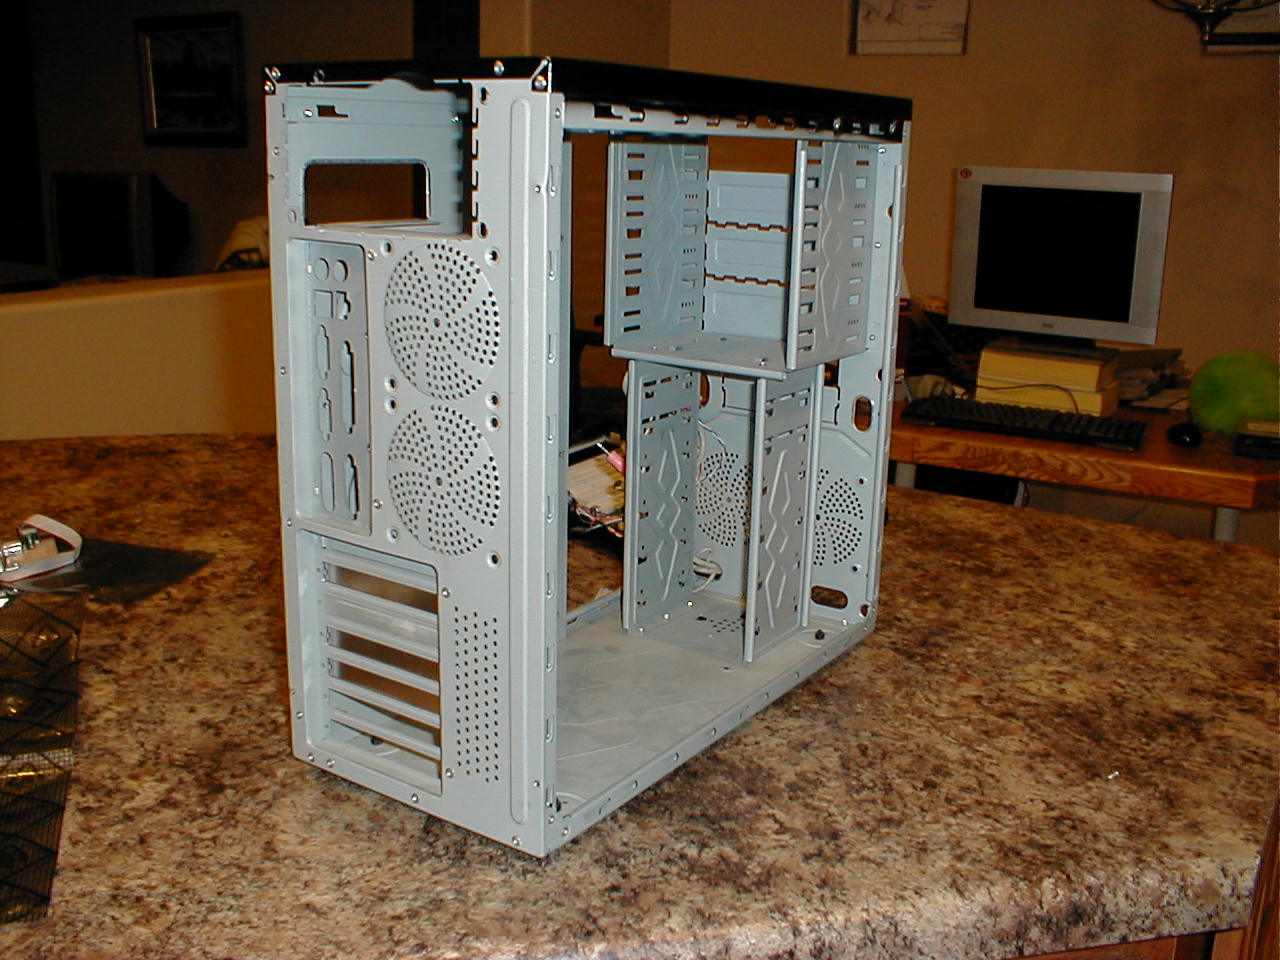
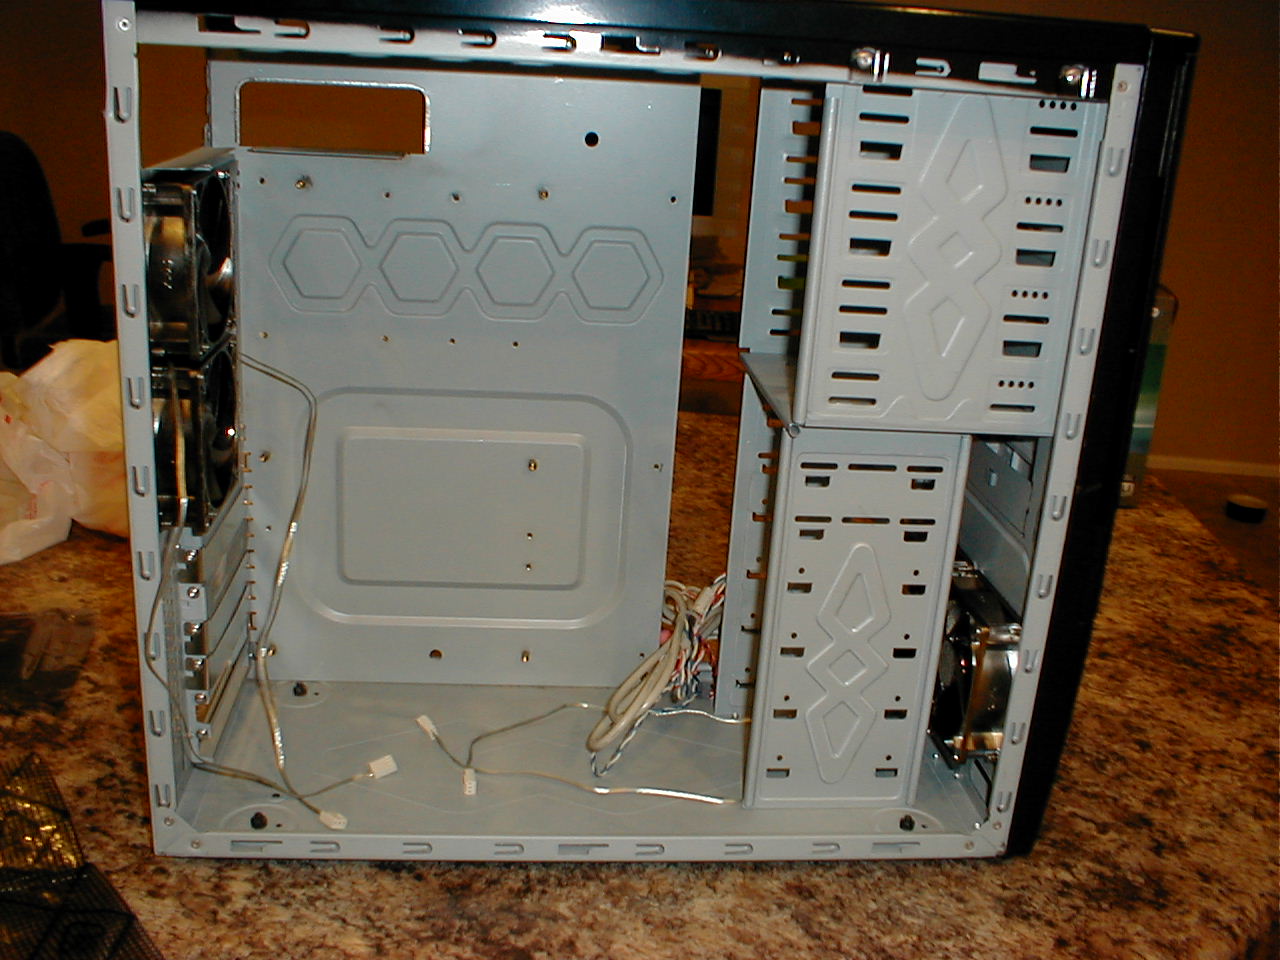
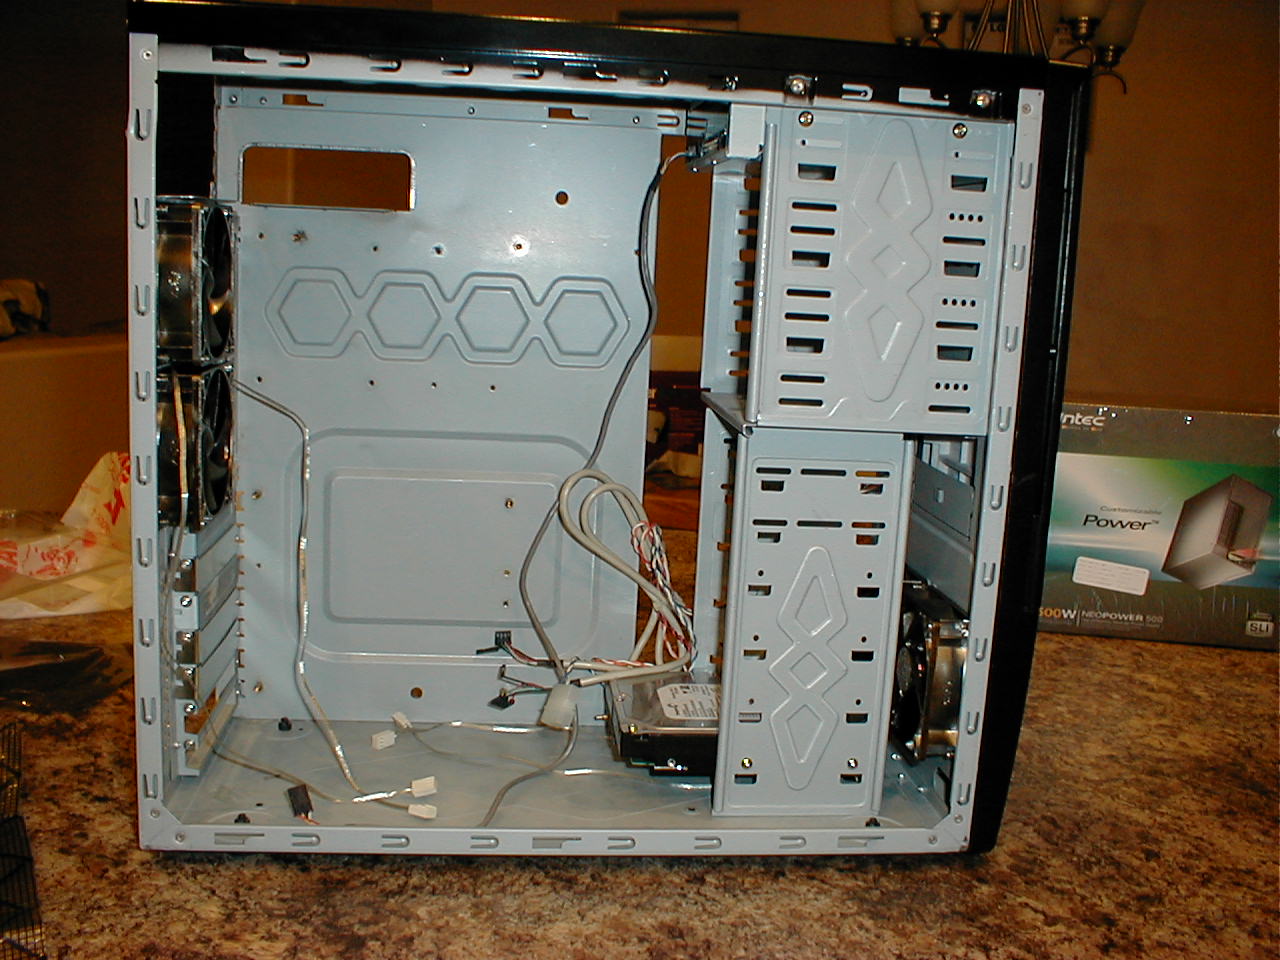
Having stripped the case of all components, I thought I would take a bunch of pictures of the skeleton. How often in life do you get to see a computer skeleton when it is not heading for a landfill? This skeleton is about to be given new life.
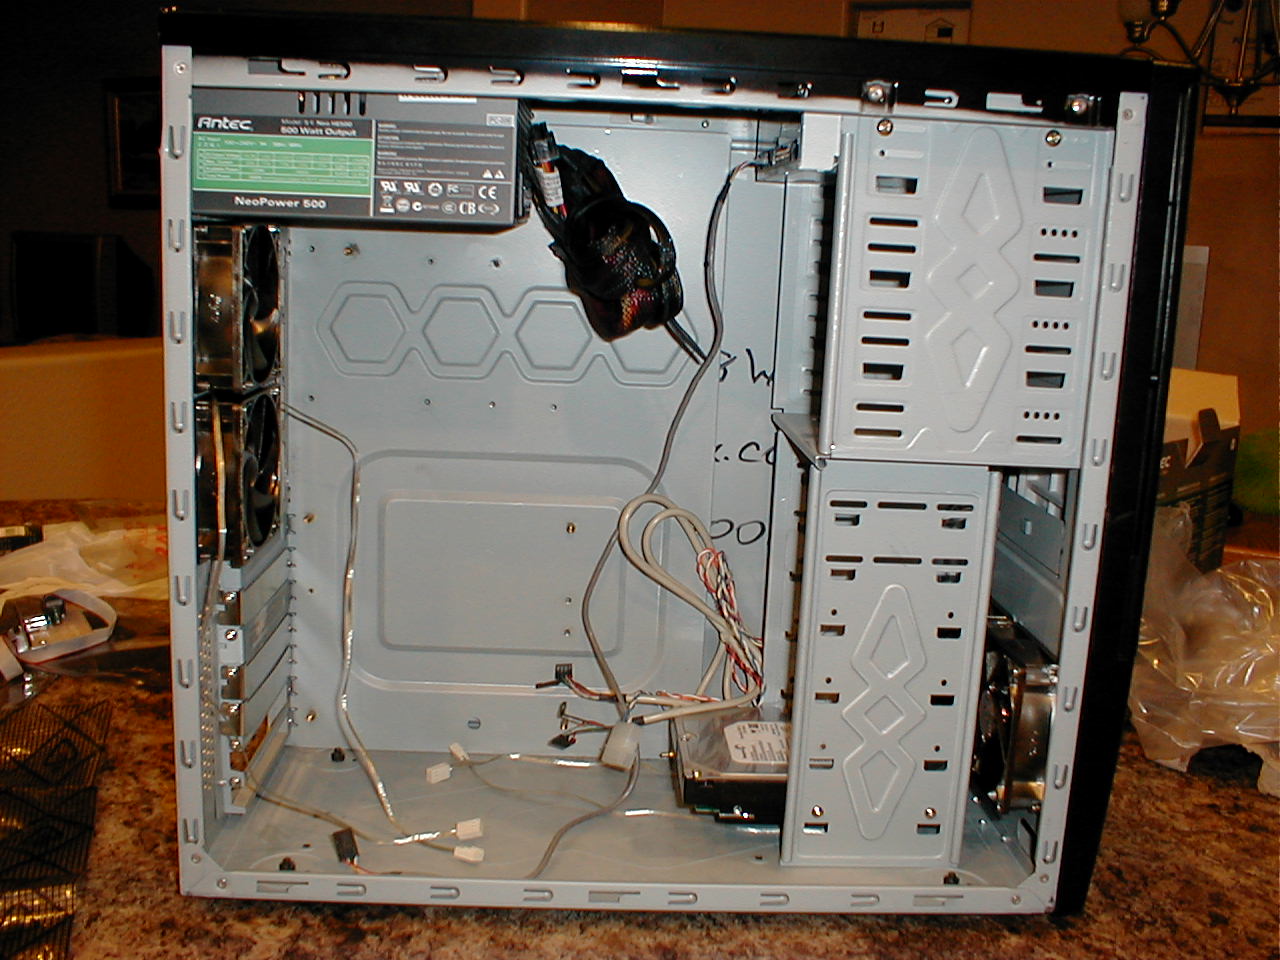
In the first picture below I installed the four new chassis cooling fans, two each in the front and back. Then I installed the DVD writer and the 750GB hard drive. In the last picture I installed the new 500 watt power supply. This is the heart of the computer and provides power to all the components.
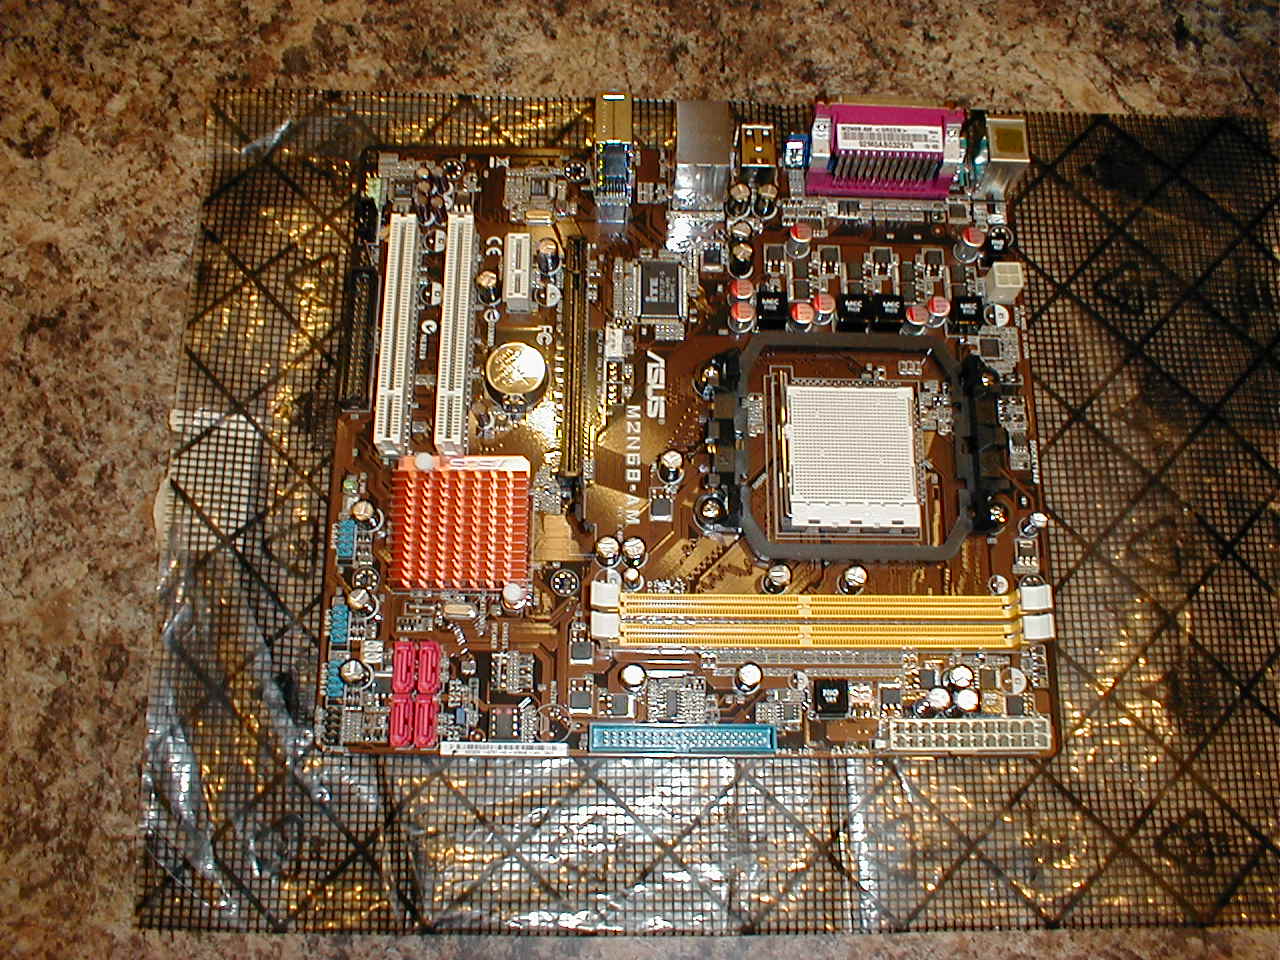
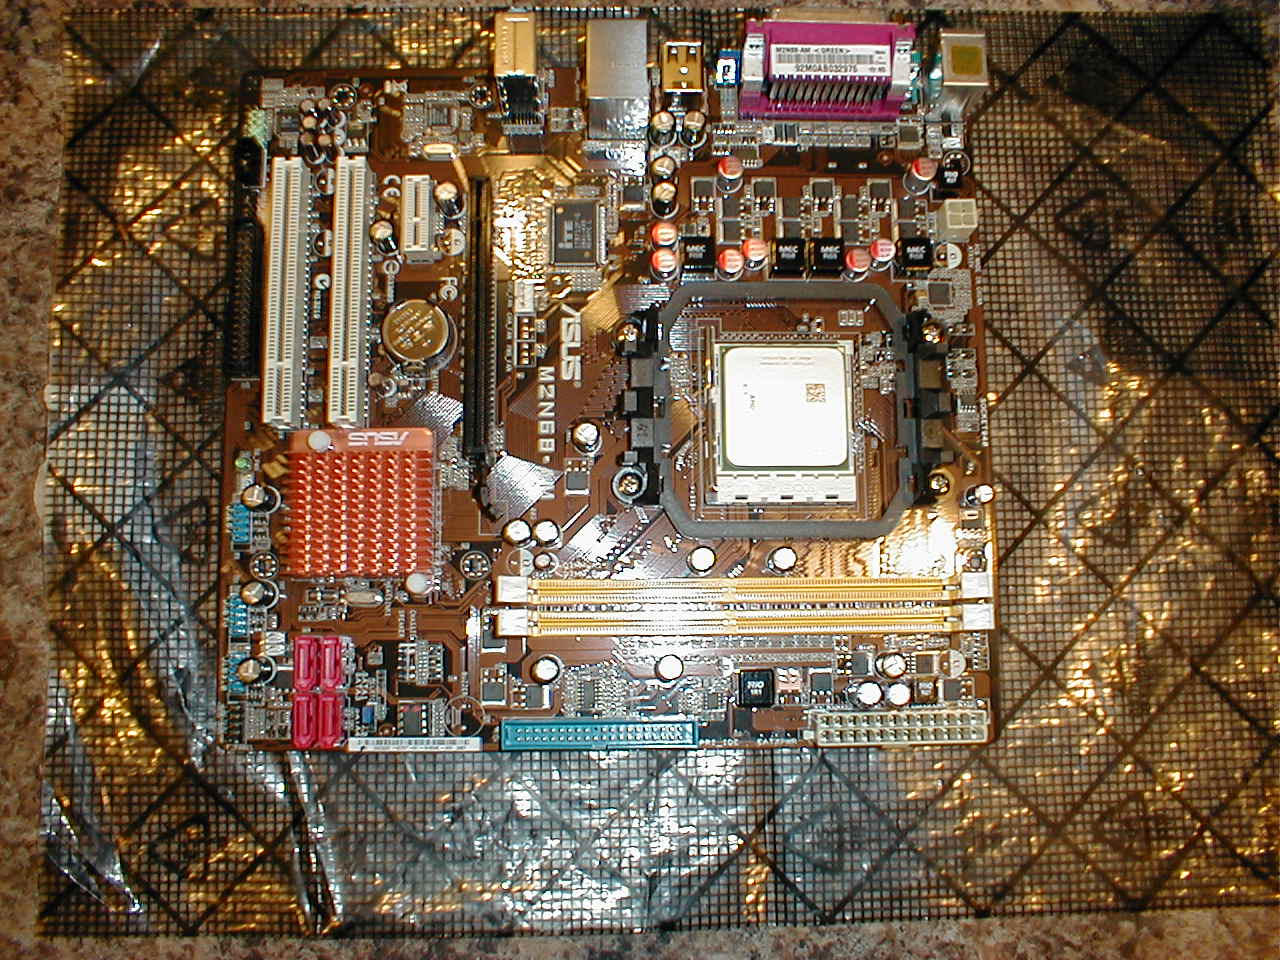
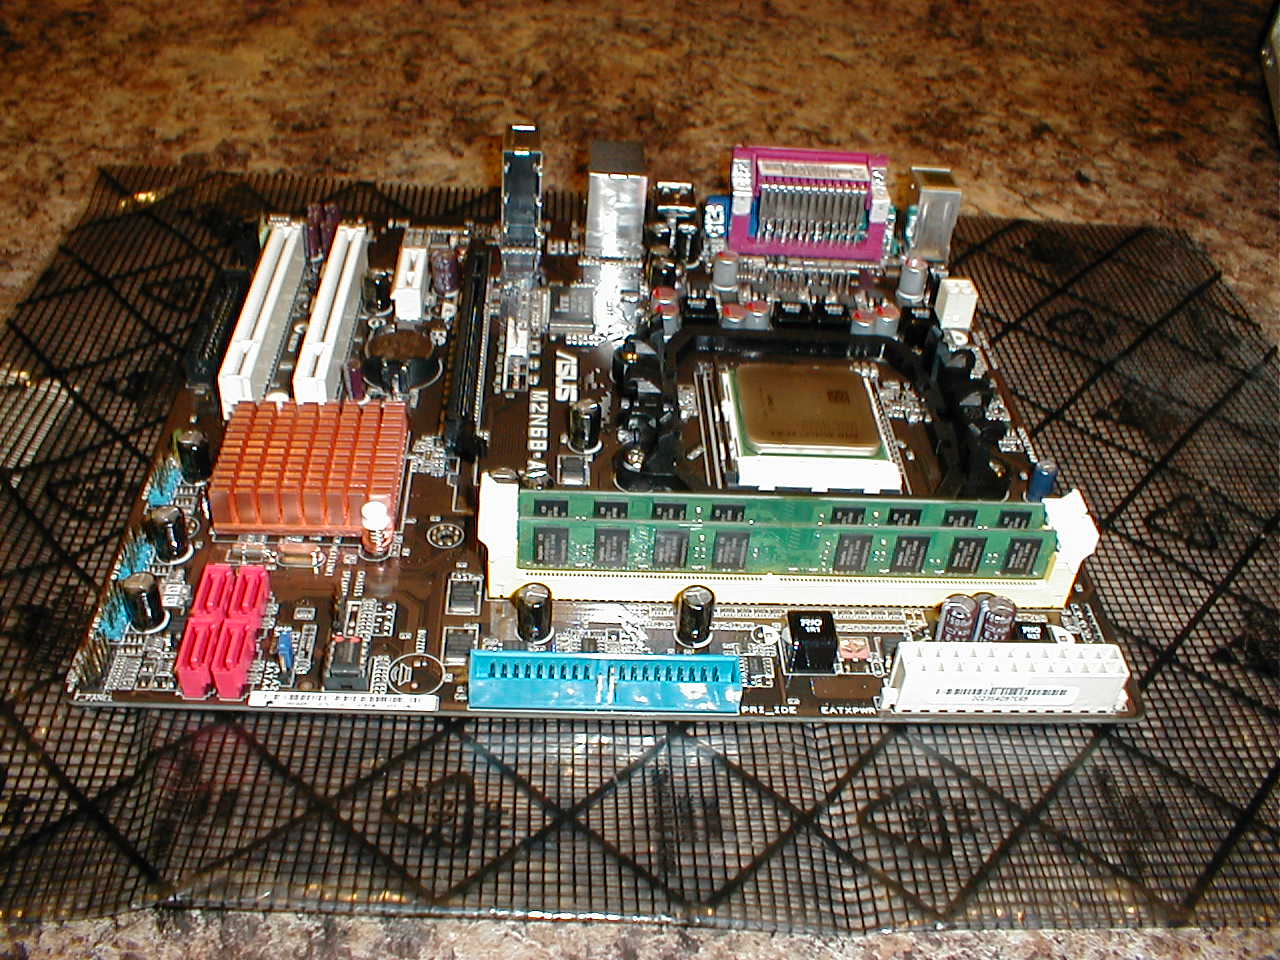
The first picture is of the brand new motherboard, you can see the white CPU socket off to the right, just above the memory slots. In the second photograph I have installed the silver 64-bit dual core processor. This is the brain of the computer. In the last photograph I added the two 2GB memory sticks.
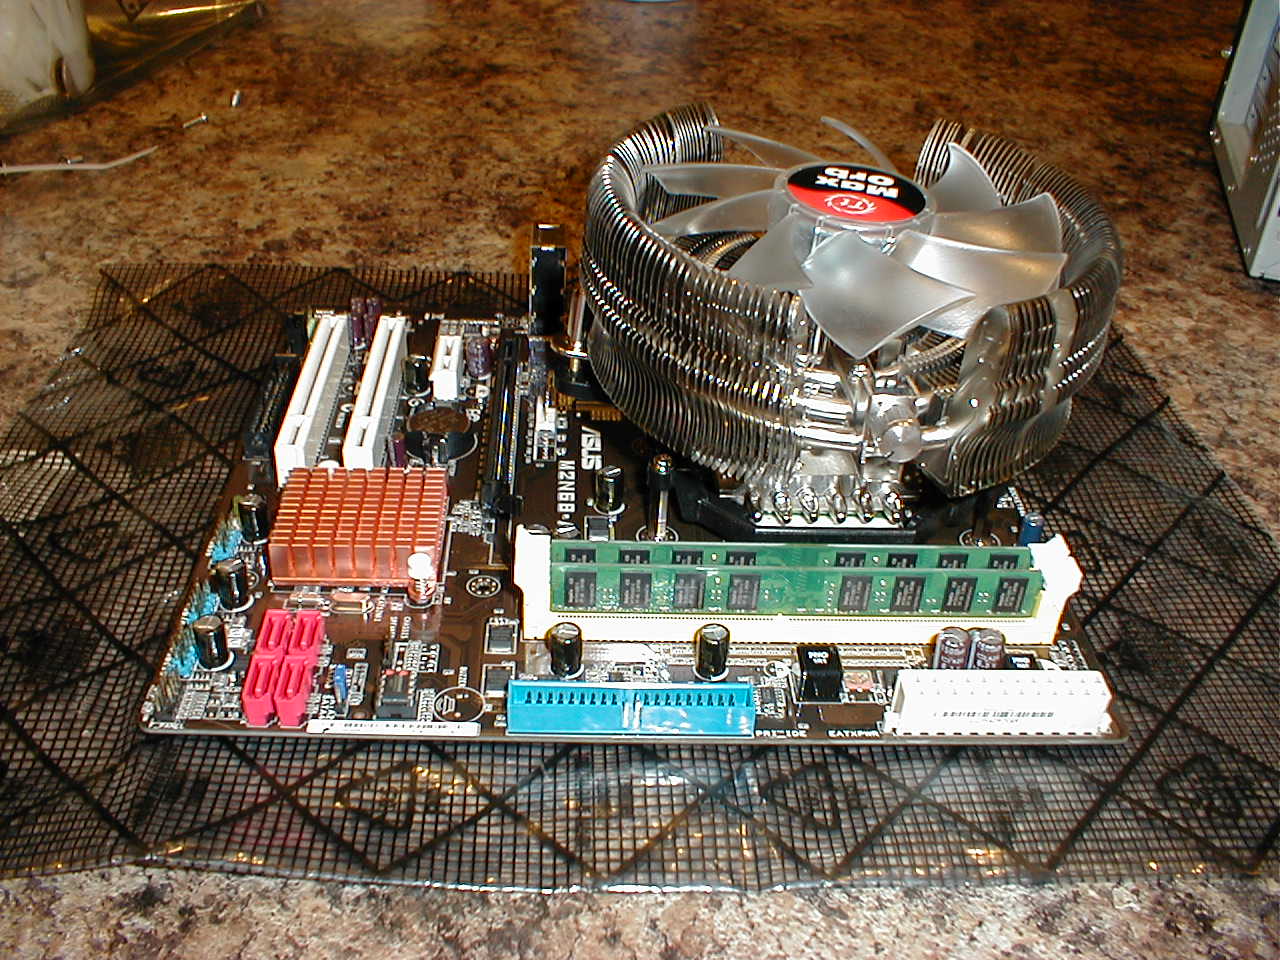
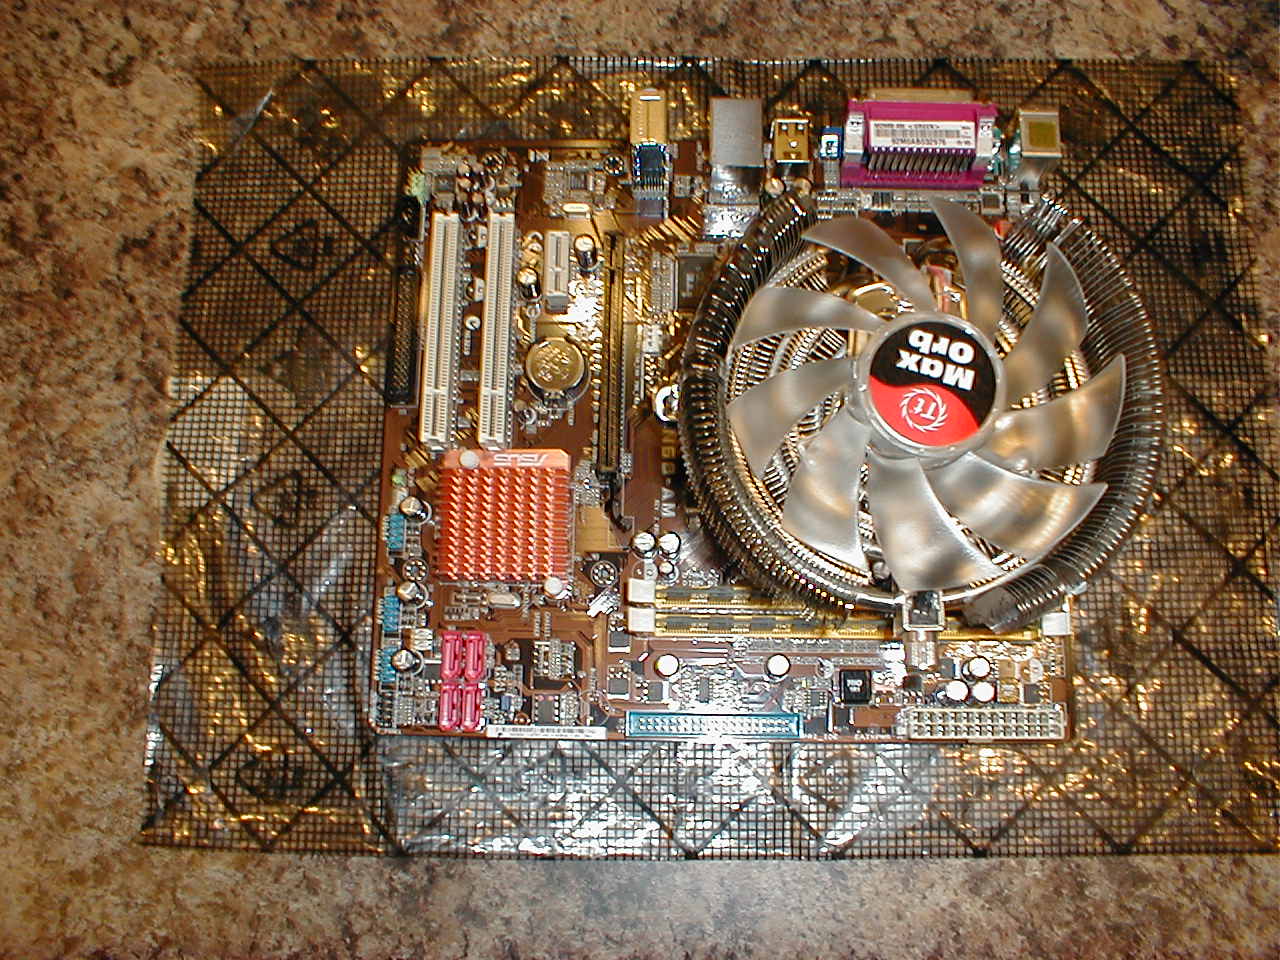
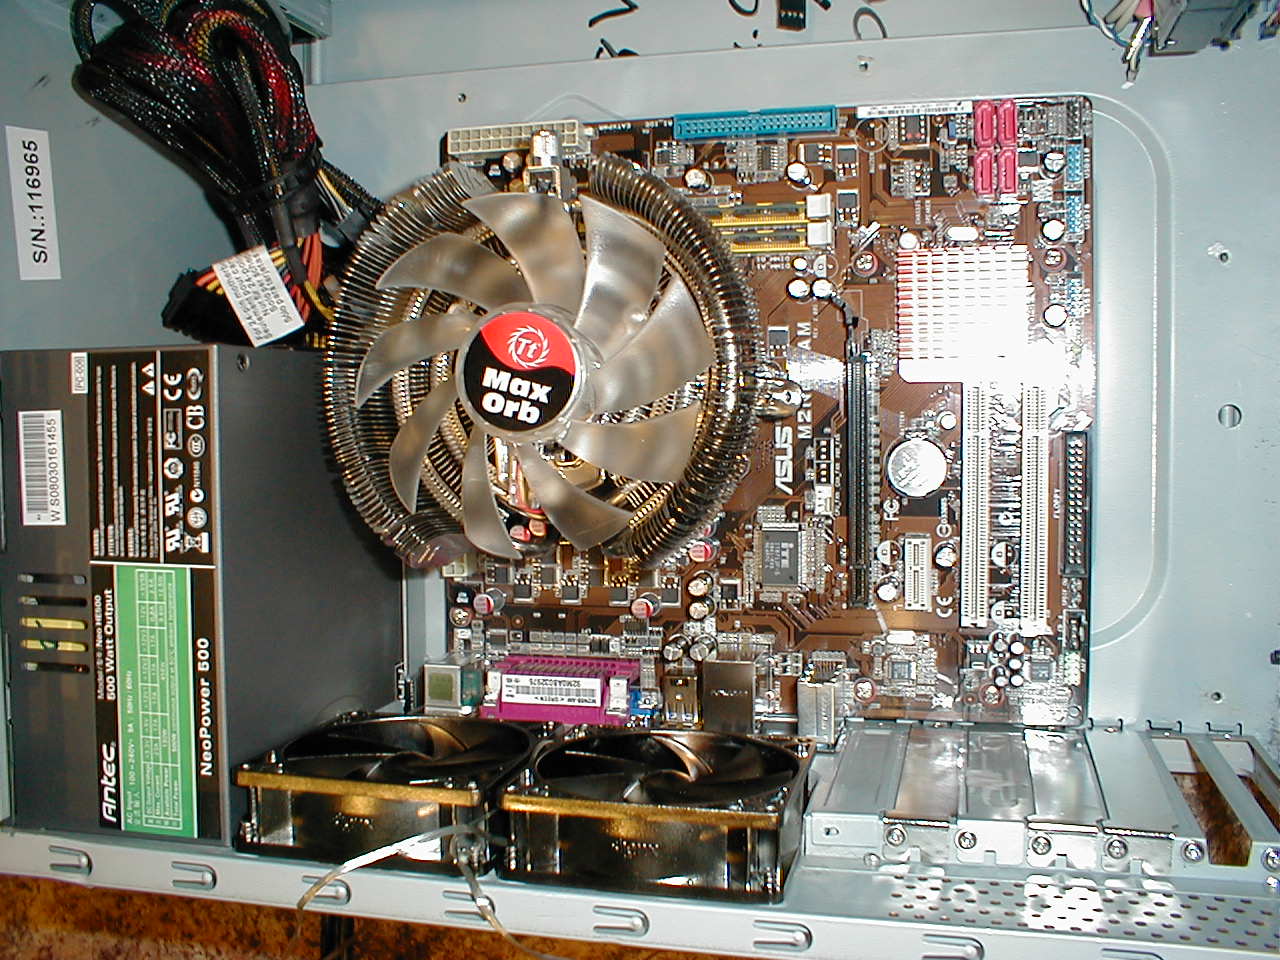
In the next photo I have installed the huge CPU cooler. It is very important to keep the CPU cool, if it gets too warm you can easily burn it out. The second picture shows a top view of the motherboard and the last picture is the motherboard mounted in the computer case.
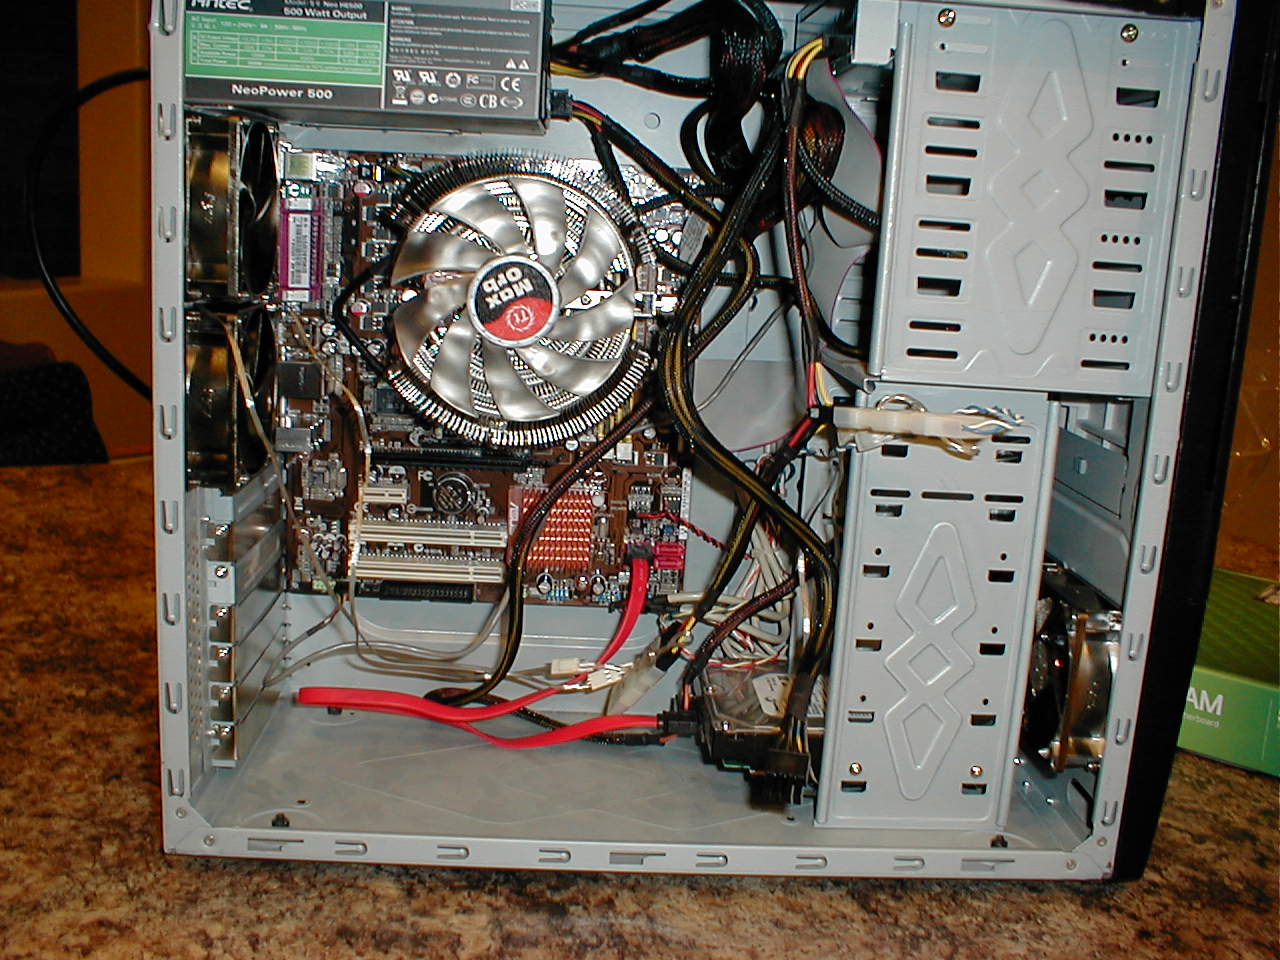
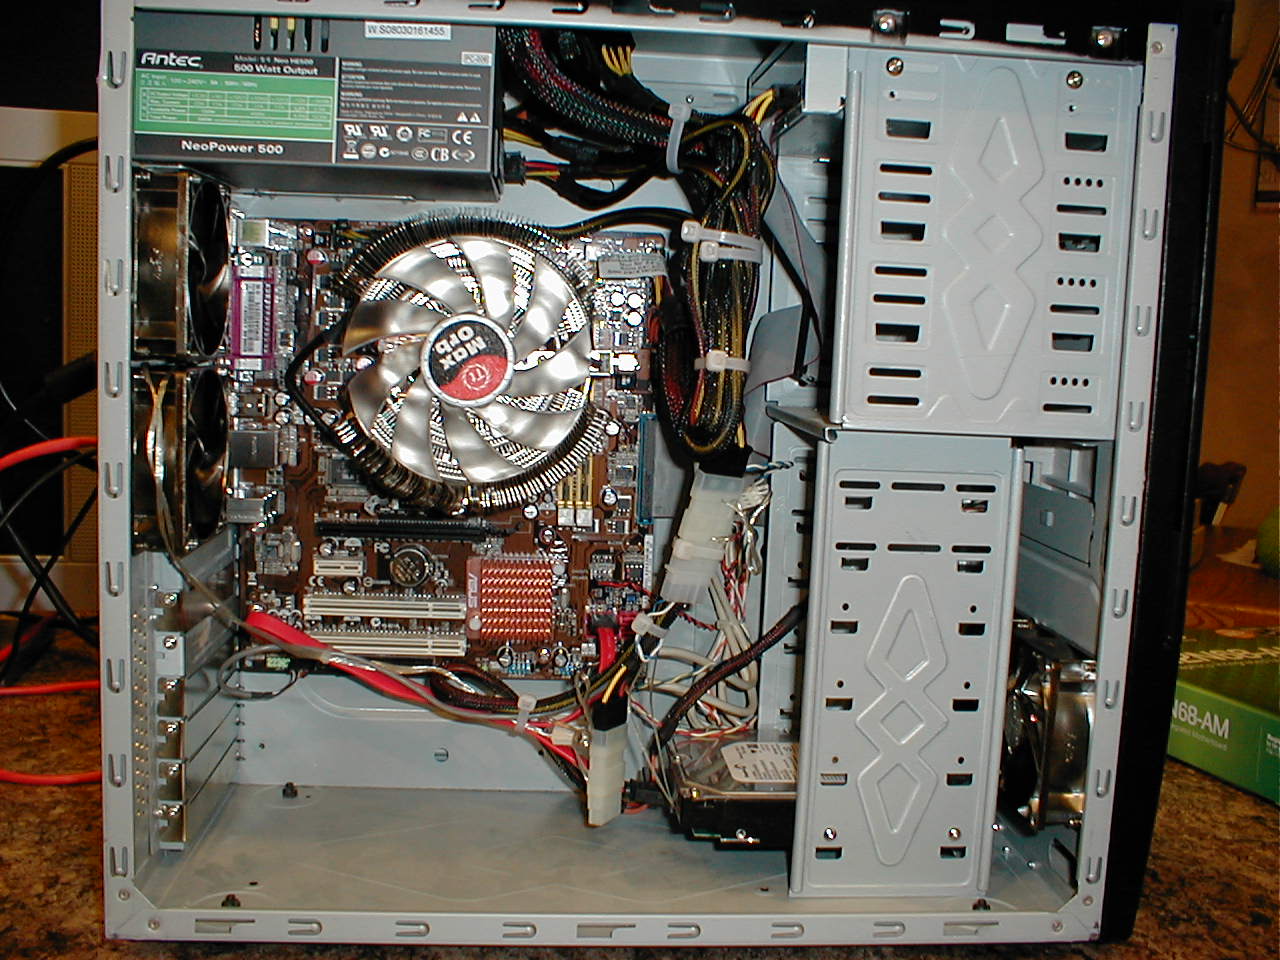
The first picure below is of all the components connected. I fired up the computer just to be sure everything worked. The last picture shows how the inside appeared once I used cable ties to make the inside look a little neater. The new computer was officially complete around 10:00PM Phoenix time on March 9, 2009 and the computer shown here was used to create this web page showing the computer being built.
This page might take a while to load as the pictures are somewhat high resolution - however, once this page loads you can click on any photograph to see the full-sized version because once you can see the thumbnail, the photograph is already on your local hard drive.
Here is a picture of the original computer, the computer with the cover removed, and a group photograph of the new components. We are installing a new motherboard, new CPU, new RAM, new power supply, new chassis cooling fans, new CPU cooler, and installing a (750GB) hard drive pulled out of another computer. The new chassis cooling fans were not present for the group photo.
In the first photograph we see the inside of the old broken computer. This computer has old expansion cards we will not need with the new computer because everything will be included on the motherboard. The power supply is shot, the motherboard is fried, the cooling fans are dead, and the hard drives will not work with newer motherboards. In the next two photos we pull out the expansion cards, the cooling fans, and all the drives.
Here is a close up view of the old fried motherboard. I have removed the CPU cooler so you can see the CPU sitting on the white CPU socket in the middle left side of the board.
Having stripped the case of all components, I thought I would take a bunch of pictures of the skeleton. How often in life do you get to see a computer skeleton when it is not heading for a landfill? This skeleton is about to be given new life.
In the first picture below I installed the four new chassis cooling fans, two each in the front and back. Then I installed the DVD writer and the 750GB hard drive. In the last picture I installed the new 500 watt power supply. This is the heart of the computer and provides power to all the components.
The first picture is of the brand new motherboard, you can see the white CPU socket off to the right, just above the memory slots. In the second photograph I have installed the silver 64-bit dual core processor. This is the brain of the computer. In the last photograph I added the two 2GB memory sticks.
In the next photo I have installed the huge CPU cooler. It is very important to keep the CPU cool, if it gets too warm you can easily burn it out. The second picture shows a top view of the motherboard and the last picture is the motherboard mounted in the computer case.
The first picure below is of all the components connected. I fired up the computer just to be sure everything worked. The last picture shows how the inside appeared once I used cable ties to make the inside look a little neater. The new computer was officially complete around 10:00PM Phoenix time on March 9, 2009 and the computer shown here was used to create this web page showing the computer being built.